At the same time I got a book with directions for weaving bags in. Inspired by the first bag in the book, I went out and bought some cotton.
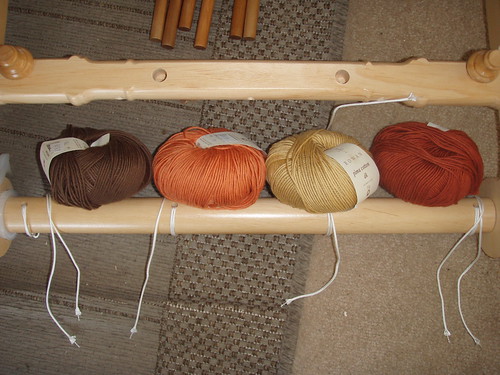
It’s Rowan Pima Cotton DK. I’m pretty pleased with the yarn, although there were two knots in the brown ball. (I’m not sure about the others as I used less of them)
So, the first step in weaving is to warp the loom. The Harp has a built in warping board, so I was easily able to measure out the warp. As you can see, it’s a striped warp. The next step is to start weaving!
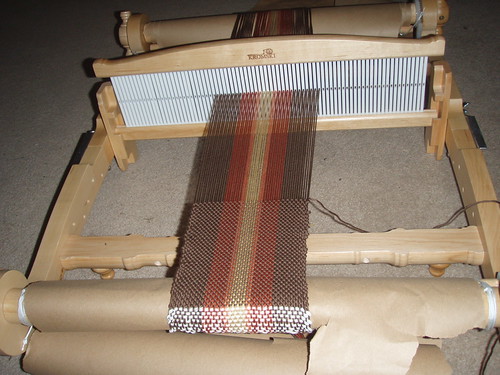
The white bit at the beginning is a “header” – this is so that you can even out the warp threads at the start of the project. I used some basic craft cotton for that. The weft is also Pima Cotton in brown. I wove until the length of the weaving was about 10 inches. (I actually then continued and wove another pattern for another bag)
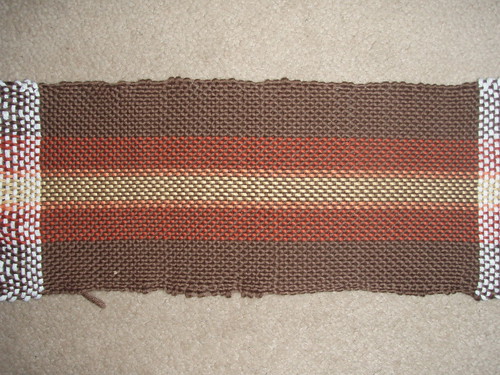
Once the weaving was complete, I took the fabric off the loom and washed it. I learned a couple of things in this process, one key thing was that the ends got all tangled with one another, so I probably need a method to stop that in future. I don’t know if it’s this yarn or a general problem.
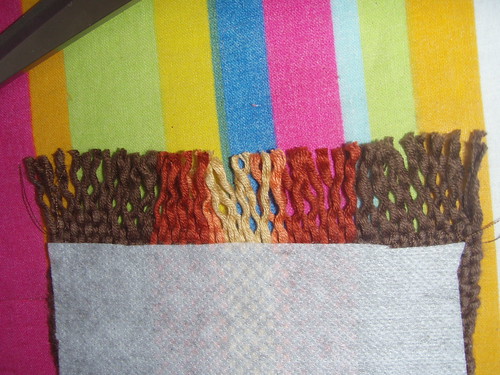
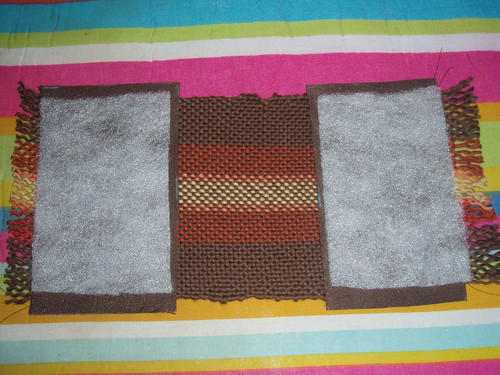
Once washed and ironed dry, the next step was to apply some fusible webbing (also known as iron-on interfacing) to the back of the fabric.

This has a couple of benefits in this situation. It helps avoid any loose ends from becoming truly loose, and it also adds a little more stability to the bag. The weave is firm enough on its own, but for once I followed the pattern!
I cut two rectangles of faux-suede and two slightly smaller rectangles of quilt batting. These were sewn in place to make the top of the bag.
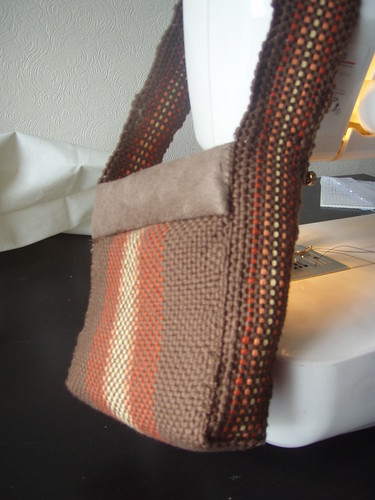
Separately to the main bag fabric I wove a strap for the bag. This was inserted into the bag in an ingenious way, and then it made the sides of the bag as well as being the strap
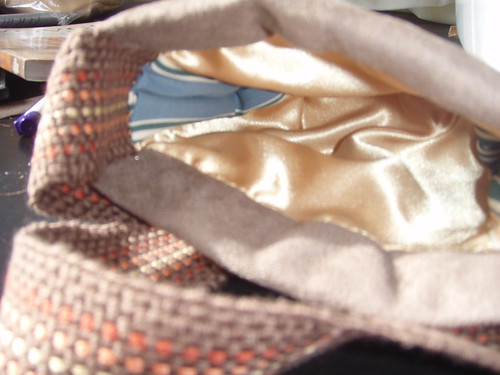
Once this was done, I had to make a lining. I decided to make a similar lining to the exterior of the bag, so I made a gold lining with green striped fabric down the sides. I overstitched this by hand into the inside of the bag.
And thus, the bag is ready for use! I have no idea what to use it for though. Perhaps it’s just a nice decorative bag. I will definitely make a larger version of this though, I especially liked the method for putting the bag together, and I can imagine this working well for a messenger style bag in the future.

Pattern: the first bag from the “Woven Treasures: Bags” book
Yarn: Rowan Pima Cotton DK (Brown, Orange, Bright Orange and Yellow)
Loom: Rigid Heddle, 10 dent. (I should put my epi here, but I’m afraid I didn’t make a note)
Modifications: I didn’t make the specified handle as I only have one heddle right now.
Verdict: Well, I think weaving could easily become a new obsession of mine! I enjoyed pretty much every step of the process. The part where I turned the fabric into the bag was pretty cool too. I’m not the world’s best seamstress but even the hand stitching parts were pretty simple. Overall I’d make it again (and again, and again…)
No comments:
Post a Comment